
At a Glance (China Coffee Network): For many people coffee is a big boost to everyday happiness. Here is a strongly recommended “home coffee corner”—easier to build than you think. This guide is “watch-and-learn”; jump to what you need: 01 caffeine seekers, 02 pour-over step-by-step, 03 espresso lovers, 04 how to choose beans.
For many people today, coffee is a powerful tool for boosting happiness. I strongly suggest building your own “home coffee corner,” which can add a lot of joy to life. Building one is far easier than you imagine—this piece is guaranteed learnable. Use the progress bar to jump to what you need: 01 caffeine seekers, 02 pour-over step-by-step, 03 espresso lovers, 04 how to choose beans.
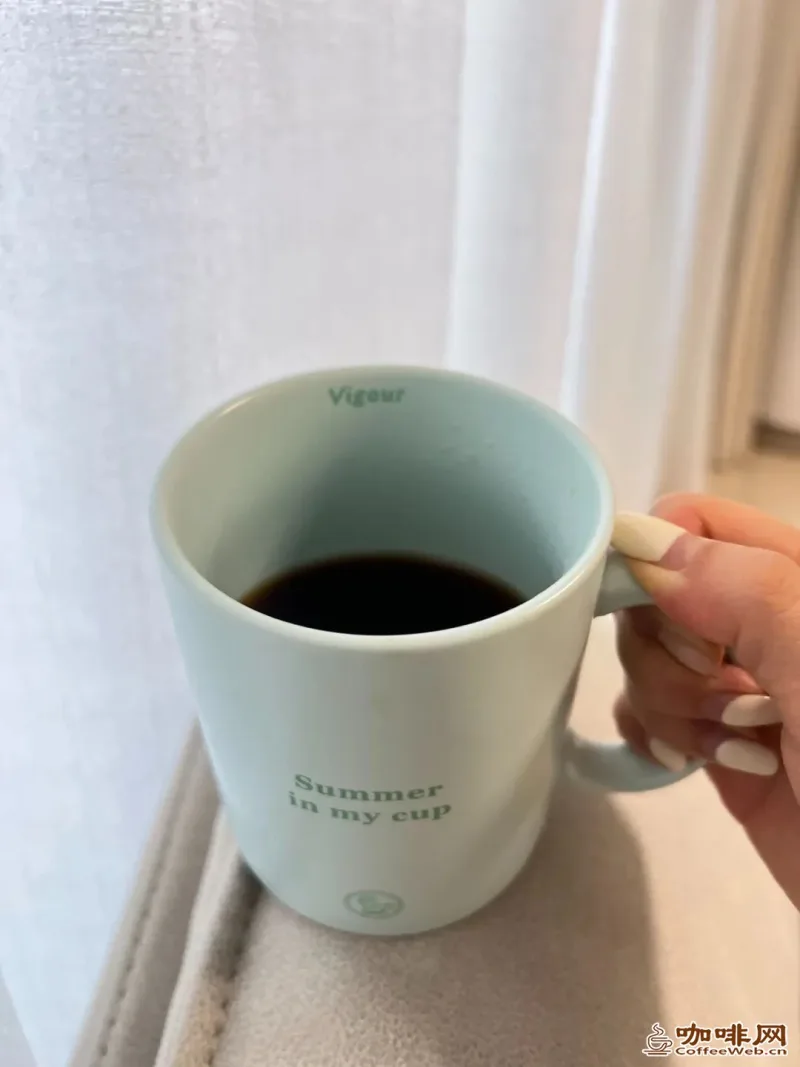
01 Caffeine seekers / instant, freeze-dried powder, coffee liquid /
For friends who mainly use coffee to wake up—in other words, who need the caffeine—this is the simplest. The basic setup is just to stock some instant products; if you like milk coffee, add coffee creamer / milk / soy milk / oat milk / cream and you’re in business.
Buying guide
❶ Price: Instant coffee plus coffee creamer—even the most luxurious setup costs less per cup than a café, so buy with confidence.
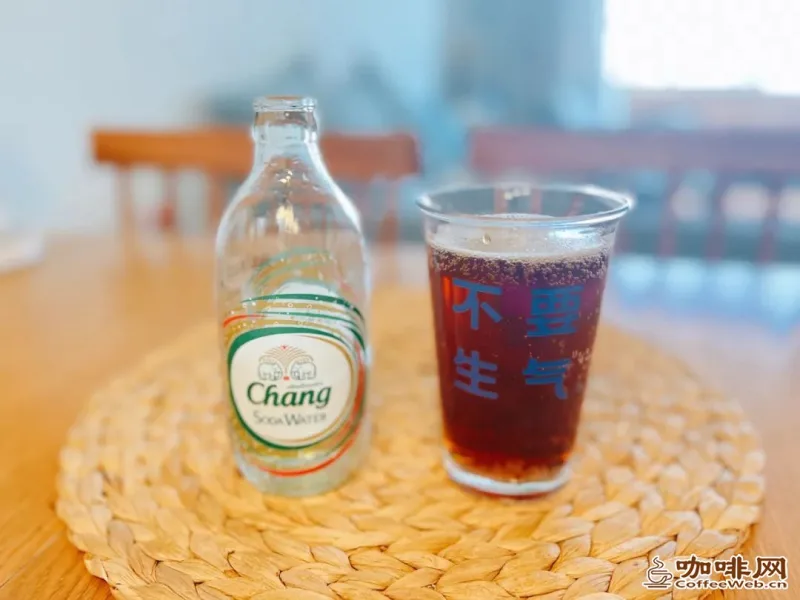
❷ Taste: Personally I recommend concentrated coffee liquid, because it’s convenient—tear open the packet and mix it with anything. Besides regular milk, you can boldly try coconut water, sparkling water, beer, red wine… far cheaper than the fancy ¥40–50 specials at cafés. Concentrated coffee liquid with sparkling water is a favorite.
02 Bean-flavor seekers / home pour-over, step by step /
For friends used to drinking pour-over at cafés and chasing bean flavor, if you want to do pour-over at home, how should you gradually add gear—from simple (cheap) to the full set (expensive)? (We won’t discuss drip bags; daily drip-bag drinkers aren’t affected by whether they stay home.)
Simple version
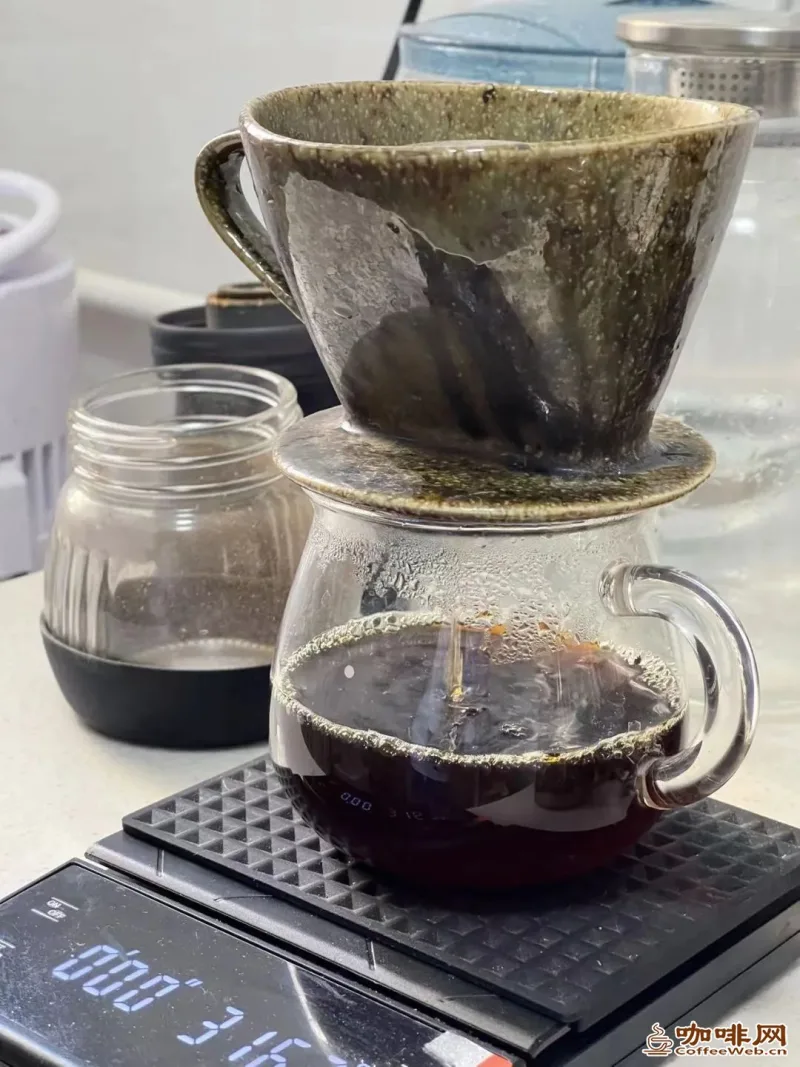
Actually you only need a dripper and matching filter paper; place the dripper on a cup and you can brew coffee.
❶ The cheapest dripper is under ¥30. As a beginner you don’t need to worry about the functions of different drippers—just buy something cheap and good-looking.
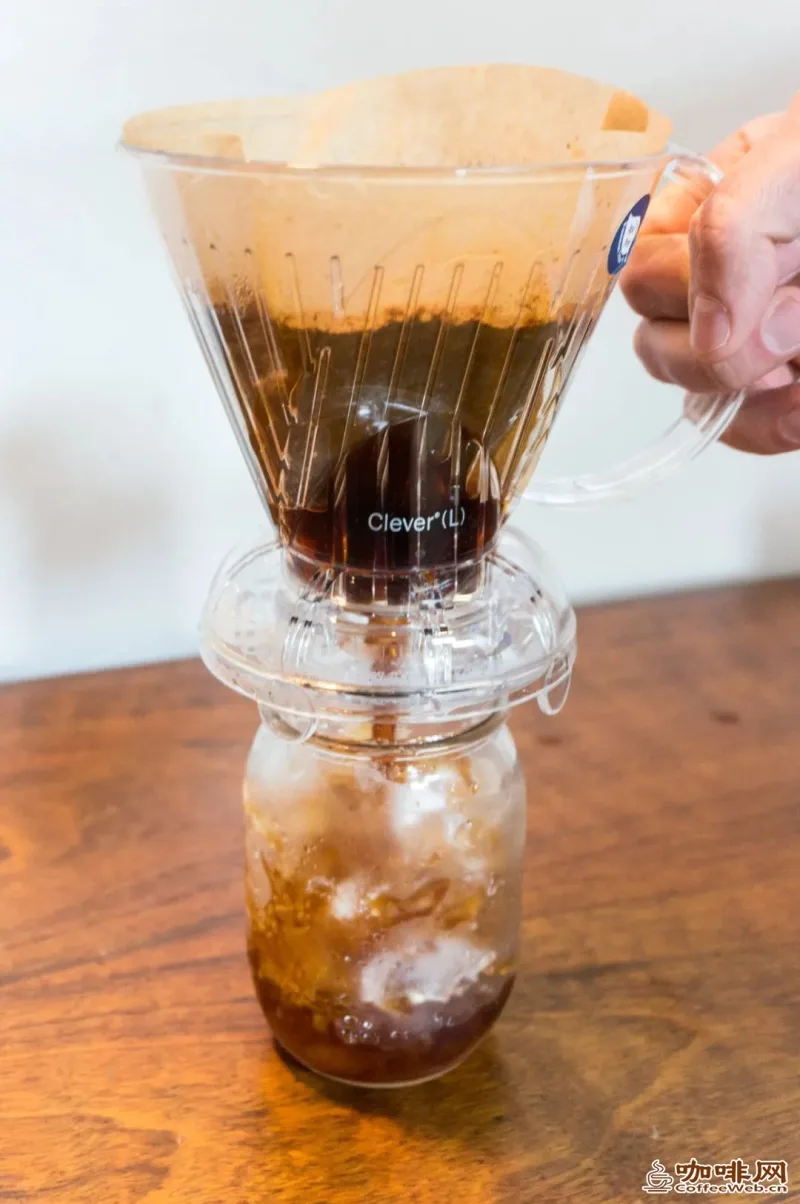
❷ There is a special dripper called the “Clever Dripper” (about ¥200). It is “clever” in that it doesn’t require pour technique, the downside being you can’t adjust the pour technique to different coffees’ flavors. Try it if you have the budget; if not, a normal dripper is fine too. The Clever Dripper has a built-in plunger and is simple to operate.
❸ Note! Filter paper! Buy the kind that matches your cup! Important things get exclamation marks! Check the model and size; if unsure, confirm with the seller. White vs. unbleached paper makes little difference for home use; experts are said to taste a difference between the two, but that’s optional. The pain of mismatched paper and dripper is real.
Advanced version
To quickly improve taste over the simple version: a scale (powder-water ratio) + a grinder (freshness).
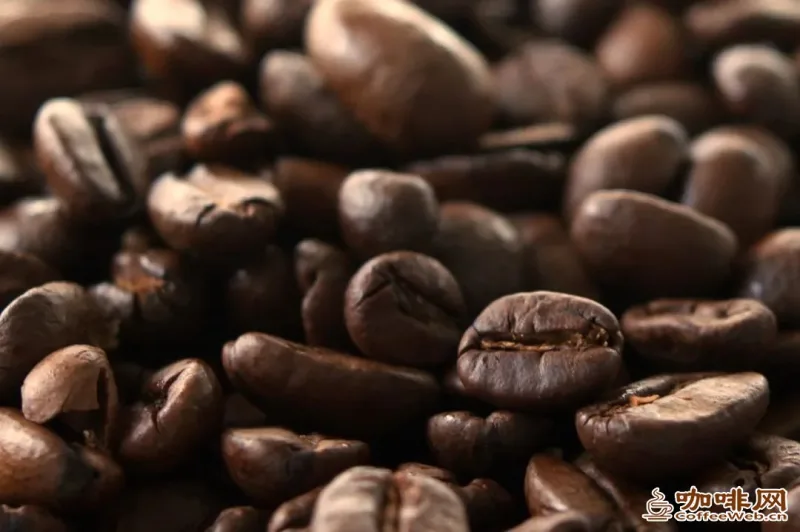
What decides whether pour-over tastes good—for novice or expert alike—is coffee-bean freshness. Freshly roasted beans smell amazing; after two weeks the flavor is mostly gone, and if ground it dissipates even faster; after a month they are basically “dead beans”—no aroma at all, starting to give off an oily smell. Pour-over flavor is mainly decided by the beans.
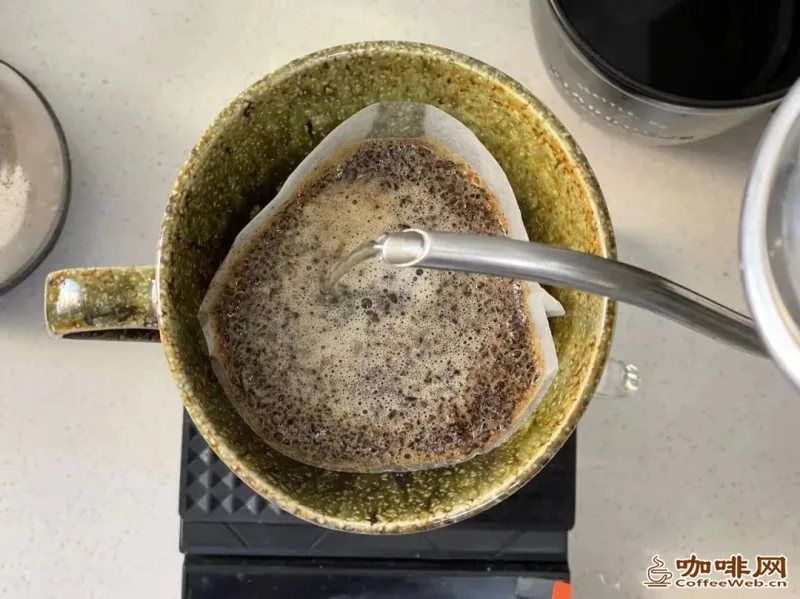
To get the freshest beans possible? A grinder! If you’ve ever ground fresh whole beans once (within 15 days, or at least 30), that aroma will keep you from ever going back to “dead beans.”
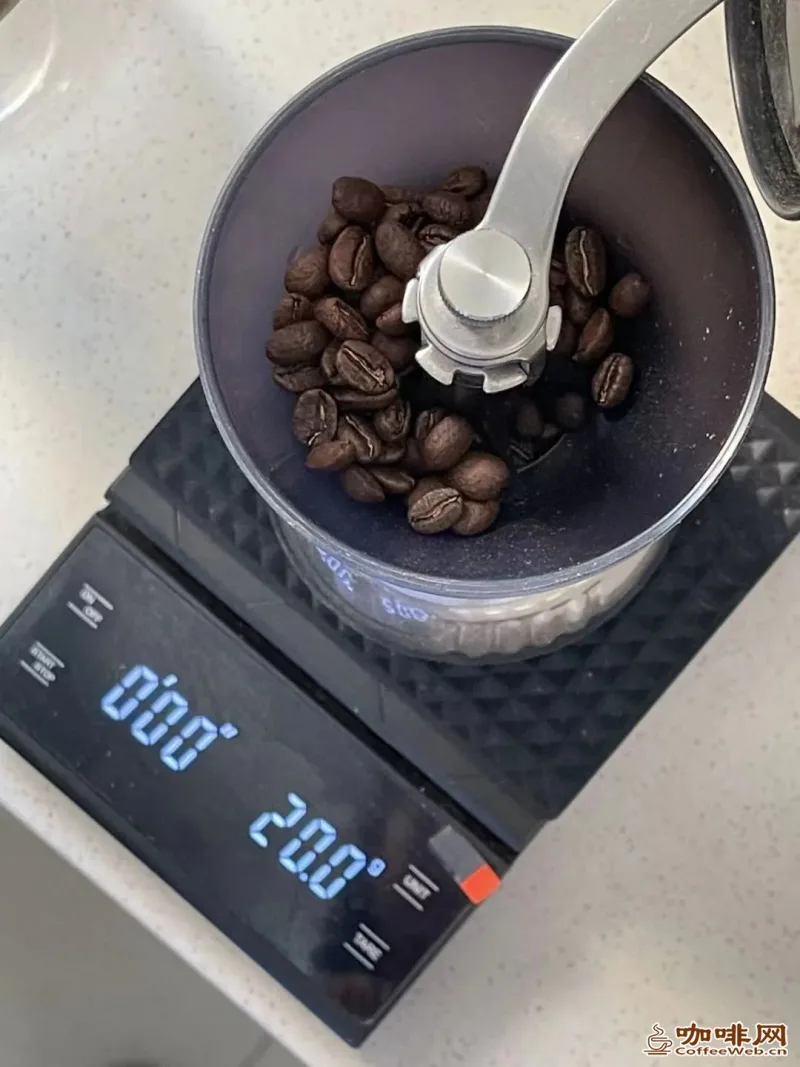
❶ Grinder: A home hand grinder is enough. Its advantages are many: more fun, cheap (about ¥100–200); the downside is it’s a bit tiring. There are also many small electric grinders that USB-charge now; I haven’t used one, but you can try. Large electric grinders (¥300+) are basically commercial—unnecessary at home.
❷ Grind size: For pour-over, aim for “coarse sugar” size; too fine is bitter, too coarse is weak.
❸ Scale: A ¥20 gadget that lifts tastiness a notch. Its job is to precisely control the powder-water ratio. A powder-to-water weight ratio of 1:15–1:18 is perfect; too little water can’t extract the full intended flavor, too much dilutes it.
Connoisseur version
Once you’ve mastered the above and want to dig deeper: a gooseneck kettle (water-flow speed) and a temperature-control kettle (temperature).
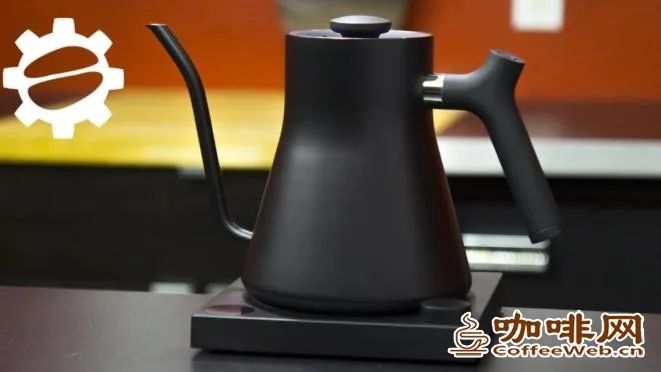
If you’re confident in your ratio / hand speed, you can brew without a gooseneck, but! a gooseneck has a big belly and thin spout that help you control the flow better. A temp-control kettle gives you fixed-temperature water; most baristas believe 95°C extracts the best flavor, but you can experiment.
❶ Gooseneck kettle: Buy the best-looking one within your budget; a ¥40 one some find great, a ¥400 one some find awkward.
❷ Temperature-control gooseneck: Around ¥300; the advantage is temperature control, the downside usually a larger size that those with a weak grip may struggle to lift and harder to control the flow. Without one, don’t use just-boiled water—let it cool a minute first.
So unless you’re commercial or aiming to become a pro barista, a normal kettle plus a handy small gooseneck is completely enough. Other items—drippers of different shapes/textures, dripper stands, serving pots—buy them after you’ve fallen in love with pour-over; you won’t need them early.
03 Espresso lovers / Aeropress, moka pot /
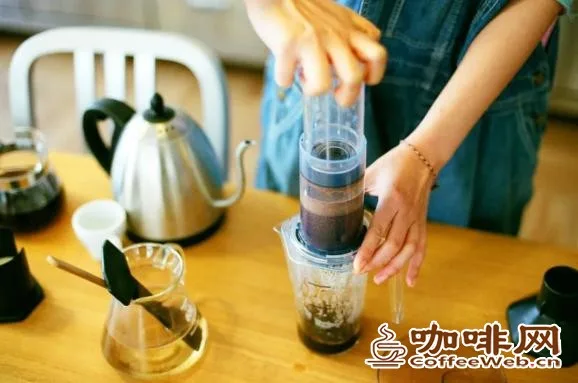
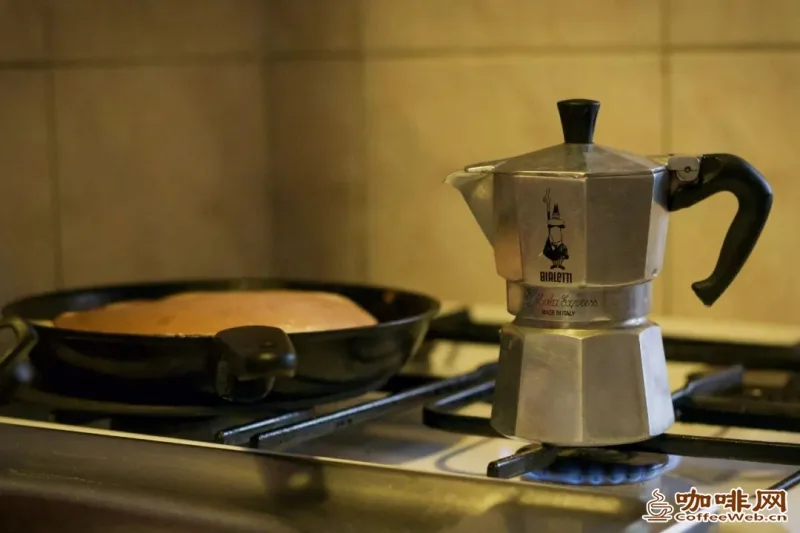
If you want to make espresso yourself without using instant products, consider an Aeropress or a moka pot.
❶ Aeropress (about ¥200): Developed specifically for making espresso at home; it produces espresso very close to a machine’s taste. Simple to operate, no skill needed—just follow the 1-2-3-4 steps. No extra weighing tools needed; the cup has its own graduations and the shape is easy to clean. The only minor downside is a slightly inferior mouthfeel—not as rich as machine espresso—but it’s plenty for convenient home drinking.
❷ Moka pot (¥300+): The Aeropress is manual pressure; the moka pot is like a pot-shaped pressure cooker that needs stovetop heating. The advantage is obvious—higher pressure means richer, better-tasting espresso. The downside is you need a stove like cooking and must watch it; there’s a learning curve.
04 How to choose beans / flavor, price, quantity /
Whether home pour-over or espresso, you need to buy your own beans. The single most important note up front—ignore it and you may be frustrated for ages: remember to tell the Taobao shop whether you want whole beans or ground, and what grind size; just tell them your brewing gear and they’ll know the size automatically. The pain of forgetting to note “grind it” when you have no grinder—don’t ask how I know… Besides that, how to pick good beans? Note the following:
❶ The most important standard: freshness. Shops that guarantee freshness usually emphasize it—roast date, roast-after-order, ship within a week of roasting—and you can ask customer service for the nearest roast batch. Also, if possible, get a small grinder so you grind as you drink, greatly extending the freshness window.
❷ Which beans to choose?
By method: If you drink milk coffee, choose a blend—once compressed the flavor is less pronounced, it’s all coffee taste. If you want to try pour-over, choose single-origin beans.
By taste: New to pour-over and used to the “classic” coffee taste—choose “washed process.” After a while, if you want something new, try other processes like “natural” or “honey.” Many people initially dislike coffee’s sour-sweet notes, so go washed → natural gradually.
By price: ¥50–70 per 227 g already offers many good options; as long as it’s fresh, expensive won’t necessarily taste better, so don’t chase expensive / small-batch when unsure.
How much to buy: If you brew one cup a day (~15 g beans), 227 g lasts half a month; longer and it loses freshness. Calculate by your own intake—for me, about 2 cups/day (30 g), buying two 227 g packs to alternate works well.
❸ What does bean info mean? First, don’t be fooled by Taobao—most product names just stack keywords illogically. A bean’s “name card” should include origin (with finer estate/station info), varietal, process + roast level, and basic flavor. But to roughly know the taste, focus first on “process + roast level.” Prioritize roast level and process in the bean info. For example, like picking a summer drink, your first filter is fizzy or not, sweet or not—not what sweetener type was added, right? Origin and varietal also decide flavor, but they’re less decisive than process and roast.
Process: The difference between washed and natural is that natural carries a strong fermented flavor. Coffee is actually a fruit with a pit and flesh; the washed method washes off the flesh leaving only the pit, so it’s usually clean, non-fermented, traditional coffee taste, plus cream, chocolate, nuts and the like. Natural, on the other hand, lets different coffee fruits ferment into different tastes—fruity, floral, even yogurt or red-wine notes can appear.
Roast level: Espresso generally uses dark roast because you drink that smoky-roast taste, while pour-over chooses medium or light roasts to get the rich aroma and flavor compounds. Used to espresso? Pick dark roast.
Of course, after all this, the most important thing is to actually start doing—once you get moving you’ll find it’s really simple! Got any home-coffee tips? Share them in the comments~
Original title: 《我的在家喝咖啡经验之谈,早看的人早受益!》
Reprint Notice & Disclaimer
- This article is compiled and edited by China Coffee Network (coffeeyo.com) from publicly available materials (original by Yinqiang Xiaobailong / Chihuo Yanjiusuo). The copyright of the original text and images belongs to the original authors. This site reprints it solely for coffee-industry information sharing and does not represent our position; all data and views are subject to the original. We thank the original authors for their creation and sharing.
- Original article: 《我的在家喝咖啡经验之谈,早看的人早受益!》 (via public channels).
- If there are any issues regarding content authorization, attribution, copyright or other matters, please contact this site promptly; we will verify and cooperate in handling them at the first opportunity. We also welcome coffee producing regions, brands and industry media to exchange and contribute articles.
- Contact China Coffee Network (coffeeyo.com): Tel 400-0000-641 (+86-18288016826) | Email 405854472@qq.com | Address: Jinghong City, Xishuangbanna, Yunnan Province / Tieling City, Liaoning Province, China
Related Reading
 How ‘Sea-Flavored’ Coffee Blooms Across Dongtou
- Health Guide: How to Enjoy Your Coffee the Healthy Way
 Study: Regular Coffee and Tea May Lower Dementia Risk, but More Is Not Better
 Frontline Story: A ‘Mobile City Coffee Bar’ Arrives by the Grand Canal
 Yantai’s Wind Tastes of Coffee
 In Zhenyuan, a Cup of Coffee and a Waiting Train






 Liaoning ICP Security No. 21122402000217